Customization Manager
The customization screen is where a majority of avatar customization / creation happens. Here you can set up your avatar with different styles, set defaults, import / export presets, and more!
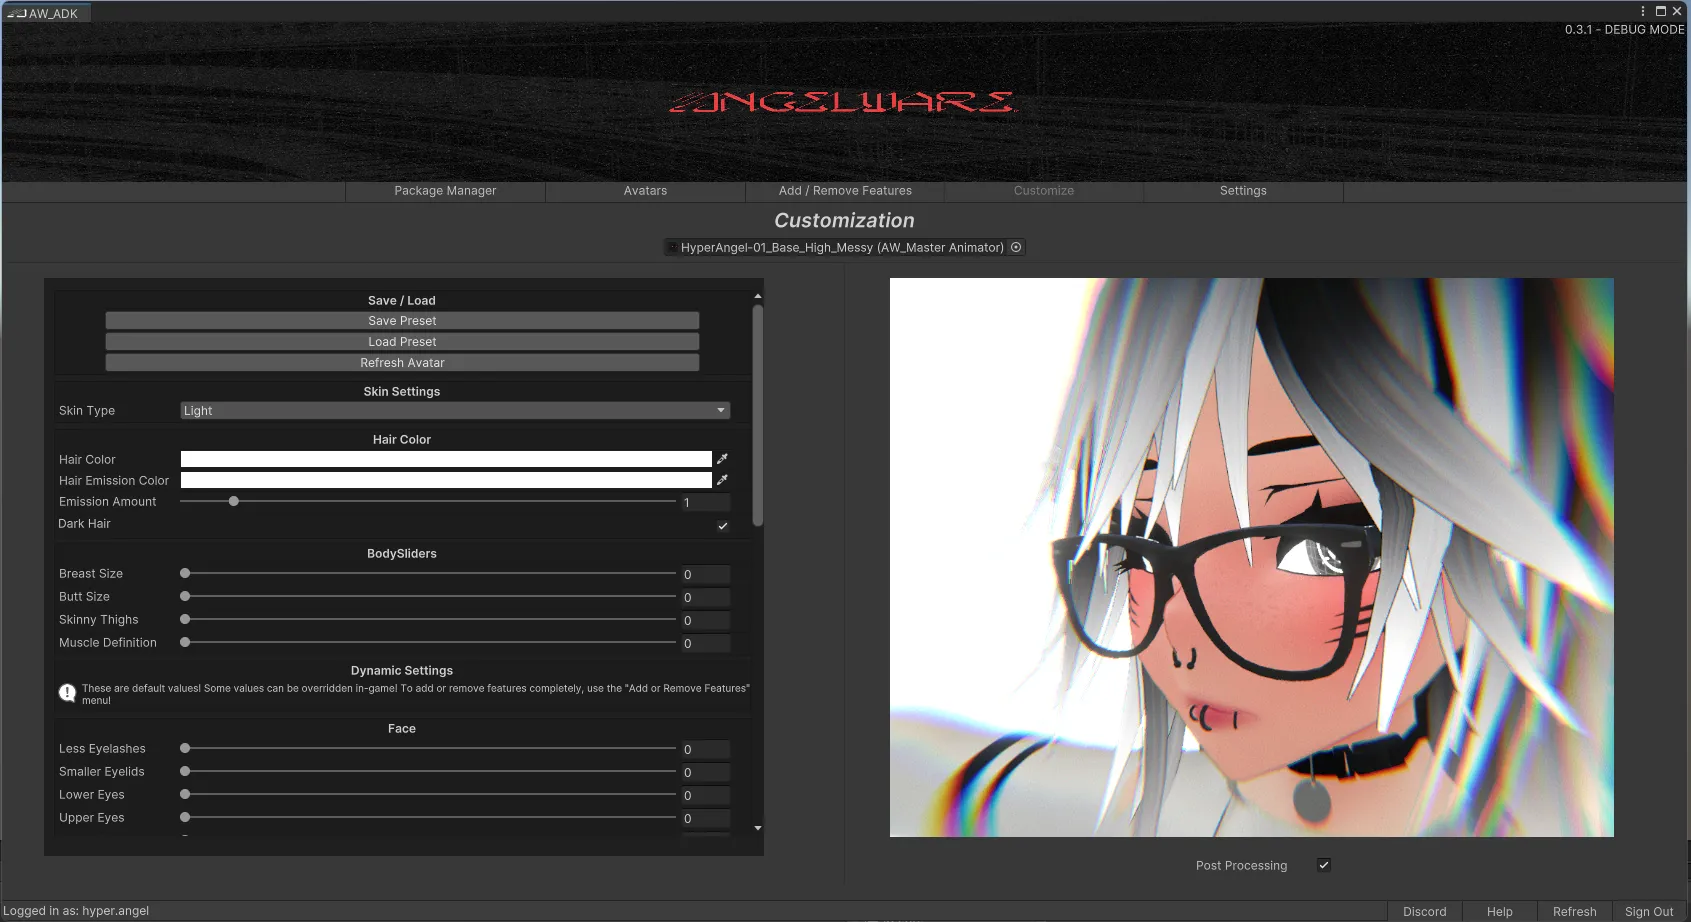
Most of the toggles that appear in this menu are default values that can be edited in-game as well. This will allow you to set up your avatar as you see fit, so you can use the “Reset Avatar” function in VRChat to return to it at any time.
Presets
Presets can be used to keep a saved state of the avatar, or to share setups with friends. They are saved as custom .asset files, and can be saved anywhere in the project’s directory. I strongly recommend saving presets of finished creations, in case the avatar gets reset or progress is lost during an update.
To load a preset you can use the “Load Preset” button, and select the corresponding preset file for your avatar. Older presets should always work, but be sure you are on the latest version if preset loading fails, as new features could have been added.
Refresh Button
Refreshing can be done at any time to update the state of an avatar, keeping it in sync with the ADK. This happens automatically when opening the customization screen, but occasionally, the avatar can become out-of-sync with what is shown in the ADK, or features may not show in the ADK correctly. When this happens you can refresh the ADK using this button.
Default Options
- Skin Color
- Hair Settings
- Body Sliders
These options will always be shown in the ADK and are used on every avatar.
Dynamic Options
These options can vary depending on the features added to the avatar. They are dynamically added / removed based on the presence of AW_Asset components in the avatar’s hierarchy. To learn more check out the Asset component reference.